A Comprehensive Guide to Amazon S3 Buckets

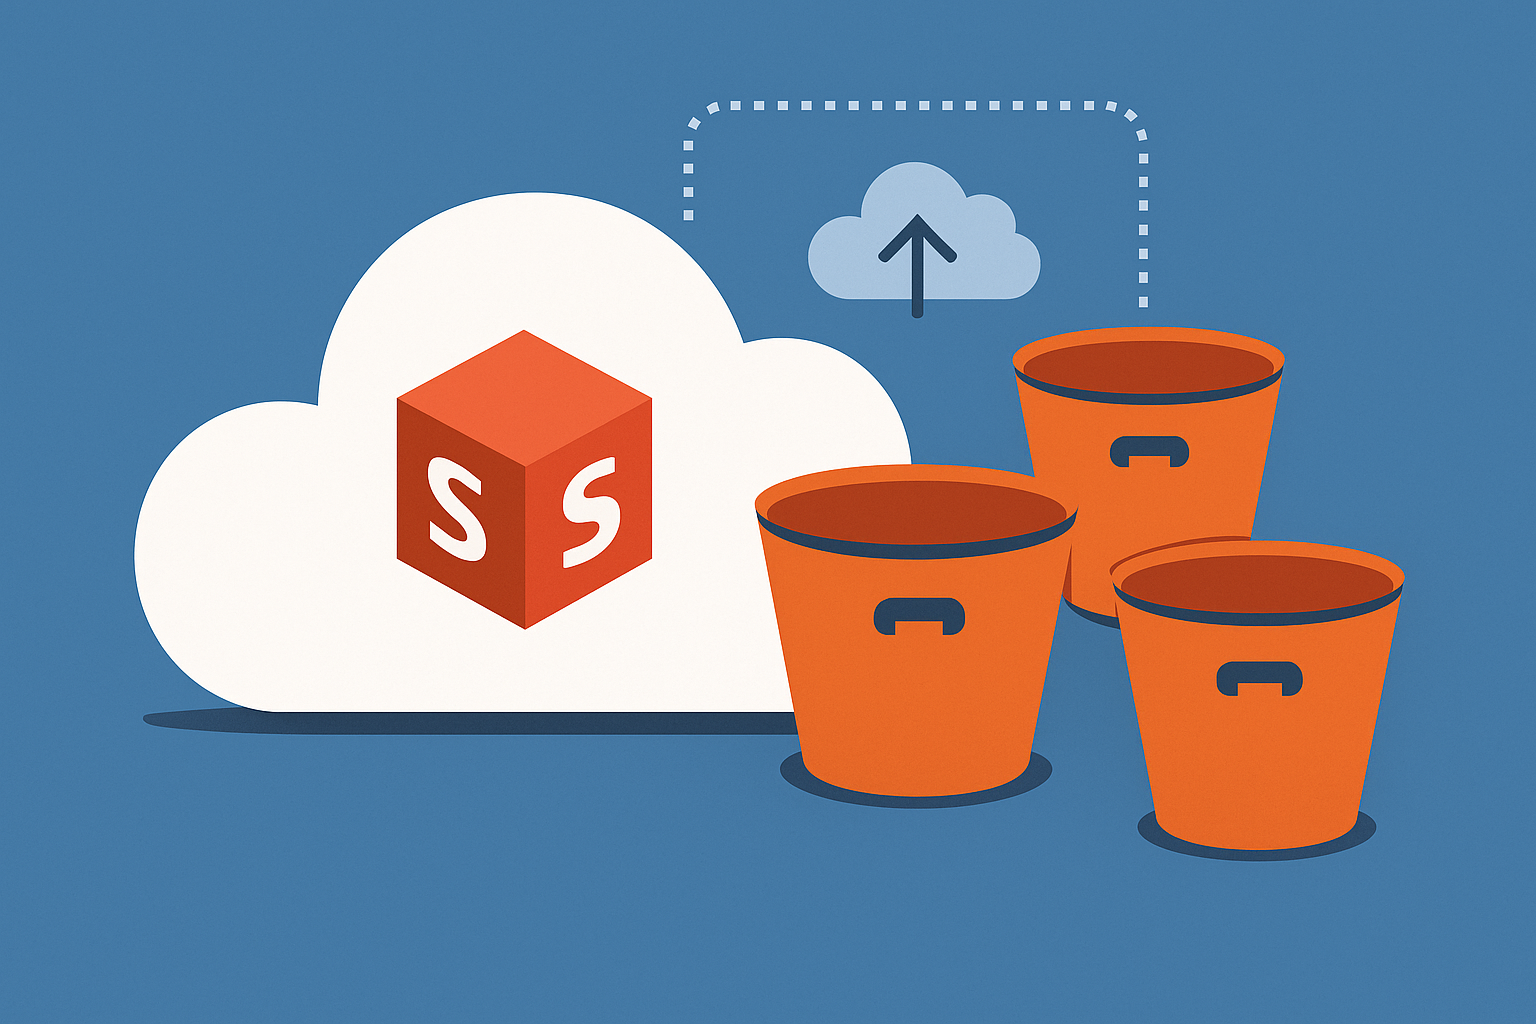
Amazon Simple Storage Service (S3) is a scalable and secure object storage service widely used for storing and retrieving data in the cloud. Unlike a traditional file system, S3 organizes data into “buckets” and manages objects within them. This article explores the key aspects of S3, how it differs from a standard file system, and how to interact with it from the command line.


What Is an S3 Bucket?

An S3 bucket is a high-level container that stores objects (files) and their metadata. Each bucket is unique within an AWS account and provides a globally unique namespace. S3 offers high availability, durability, and security through fine-grained IAM (Identity and Access Management) policies.

Differences Between S3 and a Traditional File System

FeatureS3 BucketTraditional File System
Storage StructureFlat namespace with object keysHierarchical directory structure
AccessibilityCloud-based, accessed via APIsLocal or network-based access
MetadataExtensive, including custom tagsLimited to standard file attributes
ScalingVirtually unlimited storageLimited by disk space
PermissionsManaged via IAM roles and bucket policiesManaged via OS file permissions

Connecting to an S3 Bucket via Console

To interact with S3 from the command line, you need the AWS CLI installed and configured. The configuration file is stored in ~/.aws/.

Setting Up AWS Credentials

  1. Install the AWS CLI: sudo apt install awscli # Ubuntu brew install awscli # macOS
  2. Configure AWS credentials: aws configure You’ll be prompted to enter:
    • AWS Access Key ID
    • AWS Secret Access Key
    • Default region
    • Default output format (json, table, text)
  3. The credentials are stored in ~/.aws/credentials: [default] aws_access_key_id=YOUR_ACCESS_KEY aws_secret_access_key=YOUR_SECRET_KEY
  4. IAM Role Considerations: If using an IAM role on an EC2 instance, attach the role with the necessary S3 permissions, and the CLI will automatically retrieve credentials.

Basic S3 Operations Using AWS CLI

Listing Buckets

aws s3 ls

Creating a New Bucket

aws s3 mb s3://my-new-bucket

Uploading a File to a Bucket

aws s3 cp myfile.txt s3://my-new-bucket/

Downloading a File from a Bucket

aws s3 cp s3://my-new-bucket/myfile.txt ./

Listing Objects in a Bucket

aws s3 ls s3://my-new-bucket/

Deleting an Object from a Bucket

aws s3 rm s3://my-new-bucket/myfile.txt

Deleting a Bucket

aws s3 rb s3://my-new-bucket --force

(--force ensures the bucket is emptied before deletion.)


Syncing Data with an S3 Bucket

The sync command is useful for mirroring local directories and S3 buckets.

Syncing a Local Directory to a Bucket

aws s3 sync ./my-local-folder s3://my-new-bucket/

Syncing a Bucket to a Local Directory

aws s3 sync s3://my-new-bucket/ ./my-local-folder

Syncing Two Buckets

aws s3 sync s3://source-bucket s3://destination-bucket

Does Data Pass Through Your Machine? Yes, when syncing two buckets via the AWS CLI, the data first transfers to the local machine before being uploaded to the destination bucket. To avoid this and perform a direct bucket-to-bucket transfer, use AWS SDKs or AWS DataSync.


Few words at the end

S3 provides a powerful, scalable, and secure storage solution compared to traditional file systems. With the AWS CLI, managing buckets and objects is straightforward, allowing efficient file transfers and synchronization. Understanding these fundamental operations will help streamline data workflows in the cloud.

For more details, refer to the AWS S3 Documentation.

GitHub Actions CI/CD per l’Automazione del Deployment su ECS Fargate

GitHub Actions è uno strumento potente per l’automazione dei workflow di CI/CD, che offre ai team di sviluppo una soluzione efficiente per automatizzare il ciclo di vita del codice, dalla fase di build alla distribuzione in produzione. In questa guida esploreremo le nozioni chiave, i costi e i passaggi per creare una pipeline CI/CD utilizzando GitHub Actions, con particolare attenzione al deployment su AWS ECS Fargate.

Cosa è la CI/CD e Perché è Importante?

La Continuous Integration (CI) e la Continuous Deployment (CD) sono pratiche essenziali per migliorare la qualità e la velocità di rilascio del software.

  • CI automatizza l’integrazione del codice di più sviluppatori, eseguendo test ogni volta che viene effettuato un push.
  • CD gestisce il rilascio del codice in produzione, aggiornando automaticamente l’applicazione con nuove modifiche una volta superati i test.

GitHub Actions e il Funzionamento dei Workflow

Con GitHub Actions, possiamo creare pipeline di CI/CD per automatizzare i processi del ciclo di vita del codice. La piattaforma utilizza workflow scritti in YAML per definire una serie di operazioni eseguite automaticamente al verificarsi di eventi specifici (es. push o pull request). Ogni workflow può contenere:

  • Jobs: blocchi che descrivono passaggi di build, test e deployment.
  • Actions: task riutilizzabili eseguiti nei jobs.
  • Events: condizioni che scatenano i workflow, come push, pull_request, ecc.

Differenza tra uses e run nelle Azioni

Nel file YAML di GitHub Actions, possiamo trovare sia il comando uses sia il comando run per eseguire operazioni diverse:

  • uses: richiama un’azione predefinita o custom da GitHub Actions, utile per operazioni comuni e riutilizzabili (es. actions/checkout@v2 per clonare il repository).
  • run: esegue comandi di shell inline, ottimo per eseguire comandi personalizzati come npm install o docker build.

Esempio di Configurazione CI/CD con GitHub Actions

Per configurare una pipeline che builda un’immagine Docker e la deploya su AWS ECS Fargate, possiamo seguire i passaggi seguenti.

Configurazione del Workflow

Ecco un esempio di configurazione di workflow in YAML per GitHub Actions. Questo workflow si attiva al push su staging o master e include una build Docker, il push dell’immagine su Amazon ECR e l’aggiornamento di un container Fargate su ECS.

name: CI/CD Pipeline

on:
  push:
    branches:
      - staging
      - master

jobs:
  build-and-deploy:
    runs-on: ubuntu-latest  # Runner predefinito Ubuntu

    steps:
      - name: Checkout code
        uses: actions/checkout@v2

      - name: Set up Docker Buildx
        uses: docker/setup-buildx-action@v1

      - name: Log in to Amazon ECR
        uses: aws-actions/amazon-ecr-login@v1

      - name: Build Docker image
        run: |
          docker build -t ${{ secrets.AWS_ECR_REGISTRY }}/${{ secrets.AWS_ECR_REPOSITORY }}:latest -f Dockerfile.alpine .
          docker tag ${{ secrets.AWS_ECR_REGISTRY }}/${{ secrets.AWS_ECR_REPOSITORY }}:latest ${{ secrets.AWS_ECR_REGISTRY }}/${{ secrets.AWS_ECR_REPOSITORY }}:${{ github.sha }}

      - name: Push Docker image to Amazon ECR
        run: |
          docker push ${{ secrets.AWS_ECR_REGISTRY }}/${{ secrets.AWS_ECR_REPOSITORY }}:latest
          docker push ${{ secrets.AWS_ECR_REGISTRY }}/${{ secrets.AWS_ECR_REPOSITORY }}:${{ github.sha }}

      - name: Update ECS Service
        run: |
          cluster_name=your-cluster-name
          service_name=your-service-name
          new_image=${{ secrets.AWS_ECR_REGISTRY }}/${{ secrets.AWS_ECR_REPOSITORY }}:${{ github.sha }}

          ecs_task_def=$(aws ecs describe-services --cluster $cluster_name --services $service_name | jq -r '.services[0].taskDefinition')
          ecs_task_def_arn=$(aws ecs describe-task-definition --task-definition $ecs_task_def | jq -r '.taskDefinition.taskDefinitionArn')

          new_task_def=$(aws ecs describe-task-definition --task-definition $ecs_task_def | jq -r '.taskDefinition | .containerDefinitions[0].image = "'$new_image'" | del(.taskDefinitionArn) | del(.requiresAttributes) | del(.revision) | del(.status) | del(.registeredAt) | del(.registeredBy) | del(.compatibilities)')

          echo $new_task_def > new_task_def.json
          new_task_def_arn=$(aws ecs register-task-definition --cli-input-json file://new_task_def.json | jq -r '.taskDefinition.taskDefinitionArn')

          aws ecs update-service --cluster $cluster_name --service $service_name --task-definition $new_task_def_arn

Spiegazione Passo per Passo

  1. Runner ubuntu-latest: GitHub Actions usa un ambiente temporaneo (Ubuntu) per buildare e testare il codice, separato dal container di produzione.
  2. Checkout del Codice: Utilizza actions/checkout per clonare il repository.
  3. Configurazione di Docker e AWS CLI: Set up Docker per build e logga su Amazon ECR per il push.
  4. Build e Push dell’Immagine Docker: L’immagine viene costruita e pushata su ECR usando docker build e docker push.
  5. Aggiornamento del Servizio su Fargate: Con aws ecs update-service viene aggiornata la task definition del servizio, causando un aggiornamento del container Fargate con la nuova immagine.

Costi di GitHub Actions

Per i repository pubblici, GitHub Actions è gratuito. Per i repository privati, GitHub offre 2000 minuti gratuiti al mese, superati i quali i costi sono i seguenti:

  • Ubuntu: $0.008/minuto
  • Windows: $0.016/minuto
  • macOS: $0.24/minuto

Opzioni di ottimizzazione:

  • Runner Self-Hosted: Eseguendo i workflow su server propri, non ci sono costi aggiuntivi per i minuti di GitHub, ma solo per l’infrastruttura.
  • Ottimizzazione del Workflow: Attivare workflow solo per eventi specifici e ridurre i tempi di esecuzione con caching per risparmiare minuti.

Tirando le somme

GitHub Actions è una soluzione potente per CI/CD che, unita a AWS ECS Fargate, consente di automatizzare completamente il processo di deployment, riducendo i tempi di rilascio e migliorando l’affidabilità. Con una configurazione ottimizzata e un’attenta gestione dei costi, è possibile automatizzare il flusso di lavoro mantenendo alta l’efficienza.

Dump calendars from Zimbra command line

An easy php snippet to produce the commands necessary to backup Zimbra calendars

Recently I bumped into a migration from Zimbra to another mail system provider; this migration regarded all accounts including, of course, them calendars, contacts and task.

We decided to use a tool named Transend that was among the suggested by AWS support, but for non interesting reasons, we also needed to get the calendars out of Zimbra.

Via zimbra cli it is very easy to do that:

/opt/zimbra/bin/zmmailbox -z -m [email protected] getRestURL "/Calendar/?fmt=ics" > /tmp/Calendars/youremail.ics

But … I had a lot accounts to care about, nevertheless I am normally very lazy in repeating dummy commands.
So I decided to write this little PHP snippet to produce the rows I need and than copy and past the result on zimbra cli.

The Script

Take a look at the following example with 4 accounts:

<?php

/**
 * You can of course use a simpler array,
 * but the file name with a @ is not the best you can have in your life.
 *  
 * */
$accounts = [
'peter.pan'=>'[email protected]',
'bruce.banner'=>'[email protected]',
'clark.kent'=>'[email protected]',
'mario.merola'=>'[email protected]',
];

foreach($accounts as $account => $email){
	echo "/opt/zimbra/bin/zmmailbox -z -m $email getRestURL \"/Calendar/?fmt=ics\" > /tmp/Calendars/$account.ics" . "\n";
}

the result will be:

/opt/zimbra/bin/zmmailbox -z -m [email protected] getRestURL "/Calendar/?fmt=ics" > /tmp/Calendars/peter.pan.ics
/opt/zimbra/bin/zmmailbox -z -m [email protected] getRestURL "/Calendar/?fmt=ics" > /tmp/Calendars/bruce.banner.ics
/opt/zimbra/bin/zmmailbox -z -m [email protected] getRestURL "/Calendar/?fmt=ics" > /tmp/Calendars/clark.kent.ics
/opt/zimbra/bin/zmmailbox -z -m [email protected] getRestURL "/Calendar/?fmt=ics" > /tmp/Calendars/mario.merola.ics

Now I am ready to copy and paste those lines on my Zimbra terminal and say “have a good week-end!” to the world.